|
SEAVAX - ENCLOSURE, PAINTING, GLASS
BRICKS & MORTAR - DRAINAGE - FILTRATION - GLASS & PAINT - GANTRY - HYDRODYNAMICS HISTORY - INSTRUMENTS - LABORATORY - LOGISTICS - OUR TEST TANK - SEAVAX TEST VIDEOS - SLUICE GATE - WAVE MAKING - WIND MACHINE
|
||
|
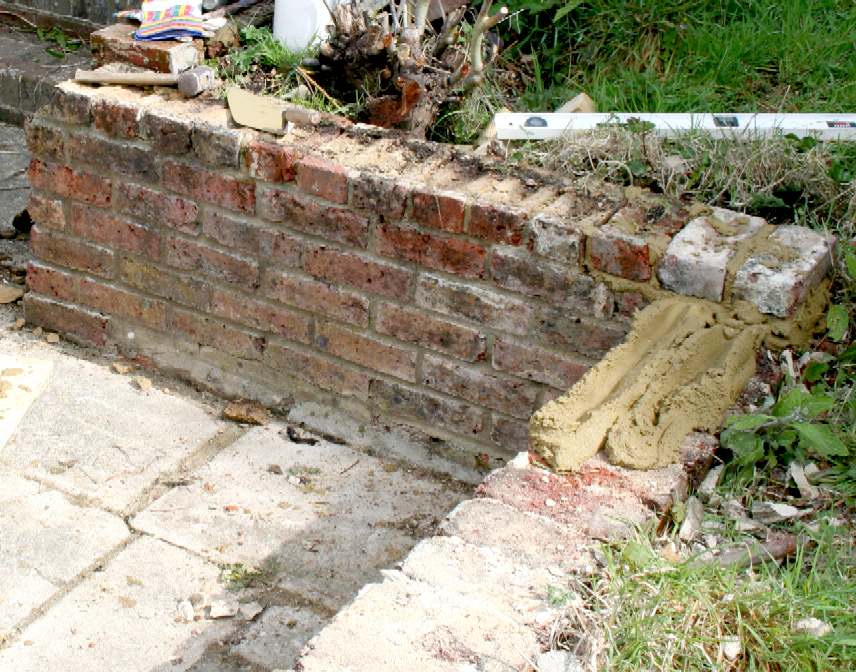
ENCLOSING THE FACILITY - We took a near derelict site in Sussex [left] and converted it into a temporary water testing tank for SeaVax [right]. While this was going on, design on SeaVax continued at a brisk pace, to include the development of a launch and recovery trailer called AmphiMax.
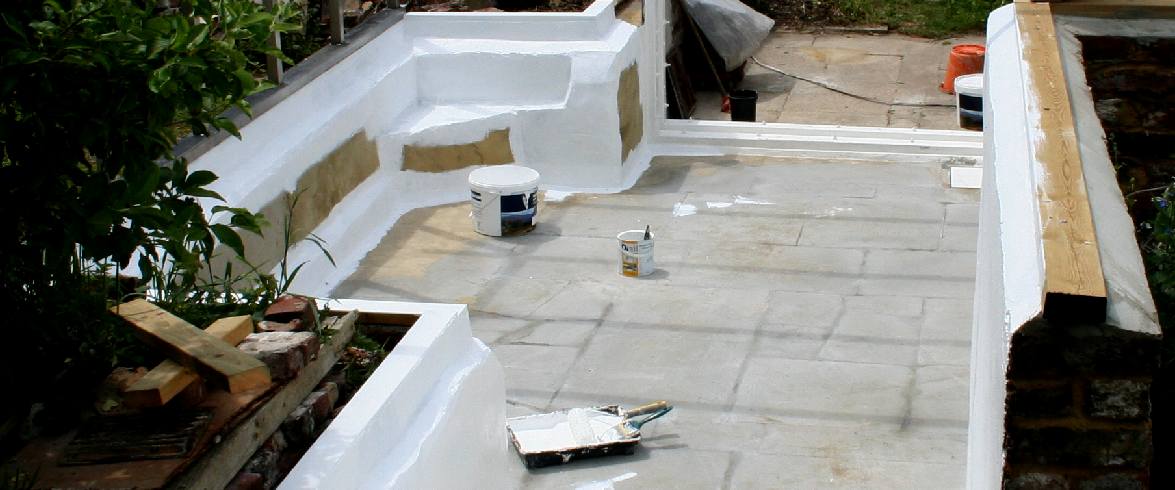
It's Saturday June the 11th 2016 and having painted the water tank we are ready to do our first test fill.....
PREPARATION - The most important part of painting is preparation. Applying the paint is the easy part. There is no point painting something if the paint will not stick and will peel off in a short time. Paint is a layer of resin that is designed to protect whatever it is applied to, usually by waterproofing timber frames, etc. Most DIY decorators forget what paint does and only concentrate on visuals.
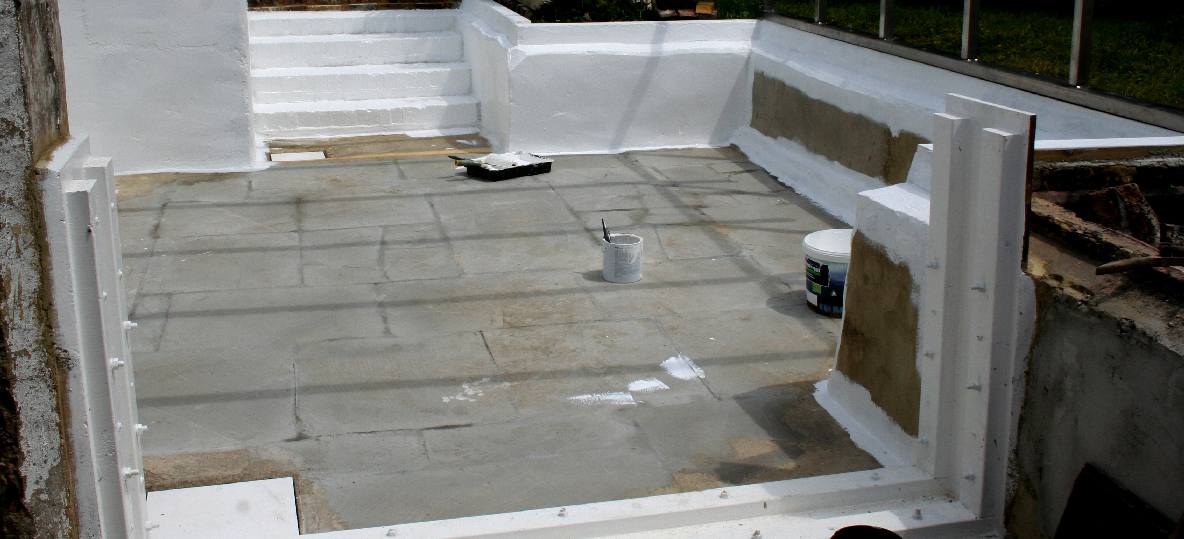
DUST FREE - Make sure that all flaky or loose render is removed and repaired. Fill all cracks (in this case pointing) between slabs and remove all earth, dust and sand. If necessary, wash the whole building down. Remove all bird droppings and wipe clean. Only then can you get the paint out.
MASONRY PAINT - It is best to apply a primer coat of thinned paint before applying two full coats of a good quality masonry paint. A thinned coat will penetrate new render and seal it, having the effect of priming the surface. Roll slowly to avoid covering yourself in paint - get the paint on the wall, not yourself. Do not roll out too thin, regularly re-load your roller and roll out evenly in two directions, ending with full length passes at a light pressure to feather one pass into another - and so get an even texture across each wall. Check for runs from cracks and crevices after about 10-15 minutes and be sure to brush or dry roll those out.
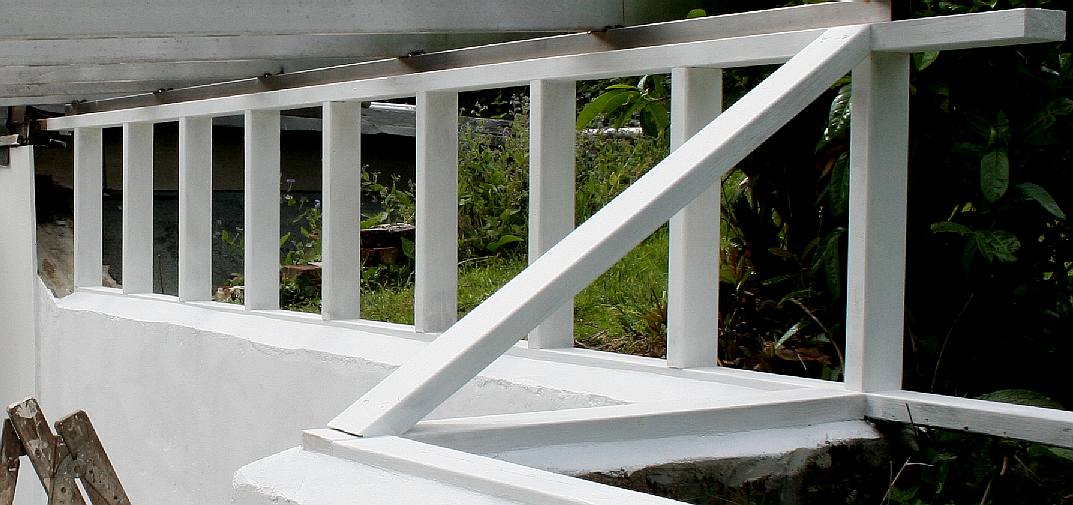
BRUSHES - Our professional painter uses a 4" (100mm) brush for priming woodworks and cutting in. You may find that a bit of a hand full and prefer a 2" brush. Flood the paint into the joins and brush out from the corners using long smooth strokes and lift off gently at the end of each stroke to blend into paint coming from the other join or corner. Always go with the grain on wood. Use a 1.5 - 2" brush for undercoating and glossing wood. Otherwise your hand will tire from the extra force that spirit based paints need to get that high sheen we all love.
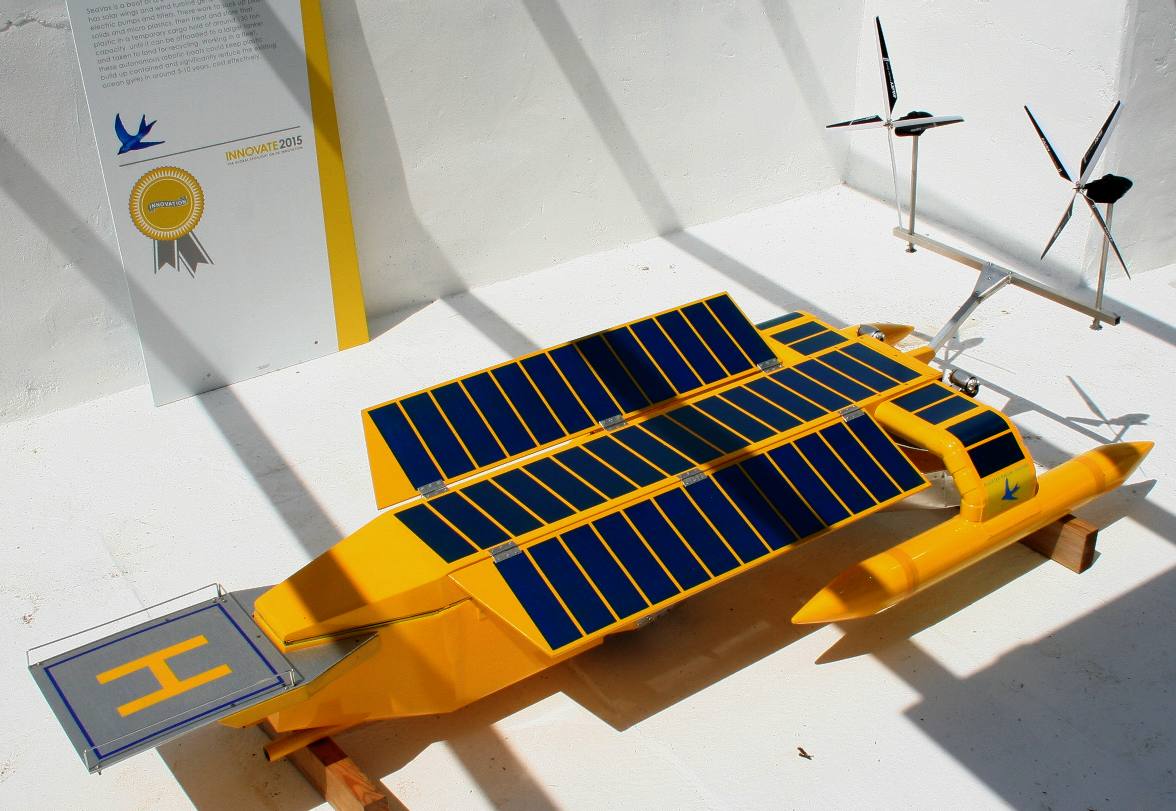
JUNE 21 2016 - For our team today was a historic occasion. The SeaVax proof of concept model paid its first visit to the test tank for the designer and team to get a feel for the fit, albeit in dry conditions and without the support gantry.
LINKS & REFERENCE
https://avaaz.org/ http://stamco.co.uk/
PLAN VIEW - In this diagram we are looking through the glass roof into the the SeaVax test tank from above. We can see the overhead gantry, carriage and rails positioned so that the model is in a dual re-circulating water flow.
BRICKS & MORTAR - DRAINAGE - FILTRATION - GLASS & PAINT - GANTRY - HYDRODYNAMICS HISTORY - INSTRUMENTS - LABORATORY - LOGISTICS - OUR TEST TANK - SEAVAX TEST VIDEOS - SLUICE GATE - WAVE MAKING - WIND MACHINE
|
||
|
This page is Copyright © 2017 Bluebird Marine Systems Ltd. The names Bluebird™, Bluefish™, Miss Ocean™, RiverVax™, SeaNet, SeaVax™, and the blue bird & fish in flight logos are trademarks. All other trademarks are hereby acknowledged.
|