|
ECOSTAR DC50 (BE4) - COMPOSITES
|
|||
|
Composites is a no-go area for most DIY car builders. But why? Okay, it is messy and can be expensive if you let it, but if working methodically, GRP or Carbon Fiber can solve your bodywork problems - and cost effectively.
The main expense of traditional methods of producing GRP is the making of molds. This involves making a master or plug, a mold and then making a casting from the mold. Molds are expensive because they use a lot of resin and matting. They have to, because they have to be strong and not flex when a product is being laid up an then while it is curing.
THE LOST FOAM METHOD
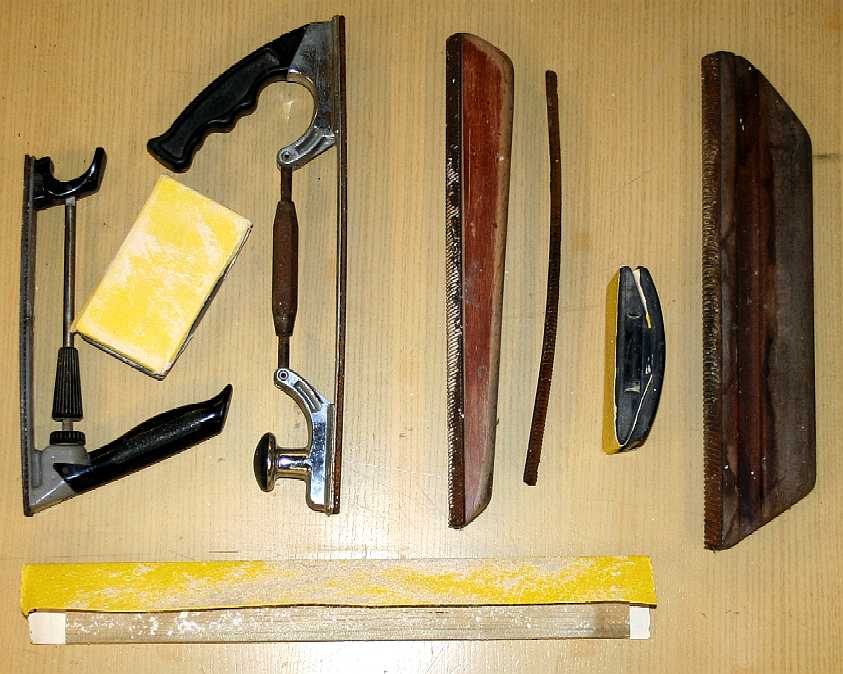
We show you a method here, where you can produce some intricate shapes very cheaply without a mold. All you need is a few basic tools, such as those seen below. We are going to use foam sheeting to carve out various body panels. It's a bit like putting the icing on a cake.
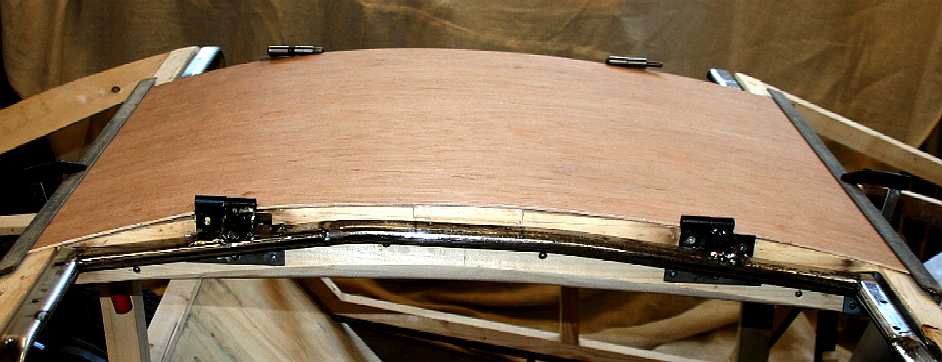
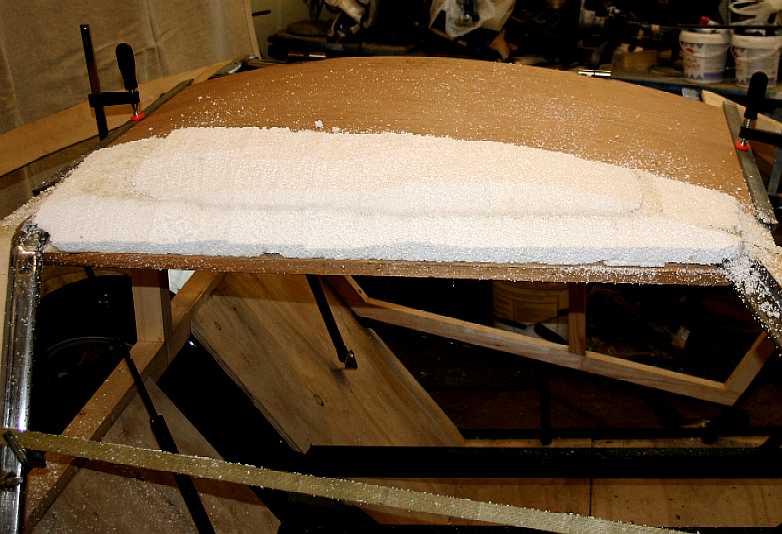
By way of example, here is the roof panel and door roof, just a void at this stage in August of 2014.
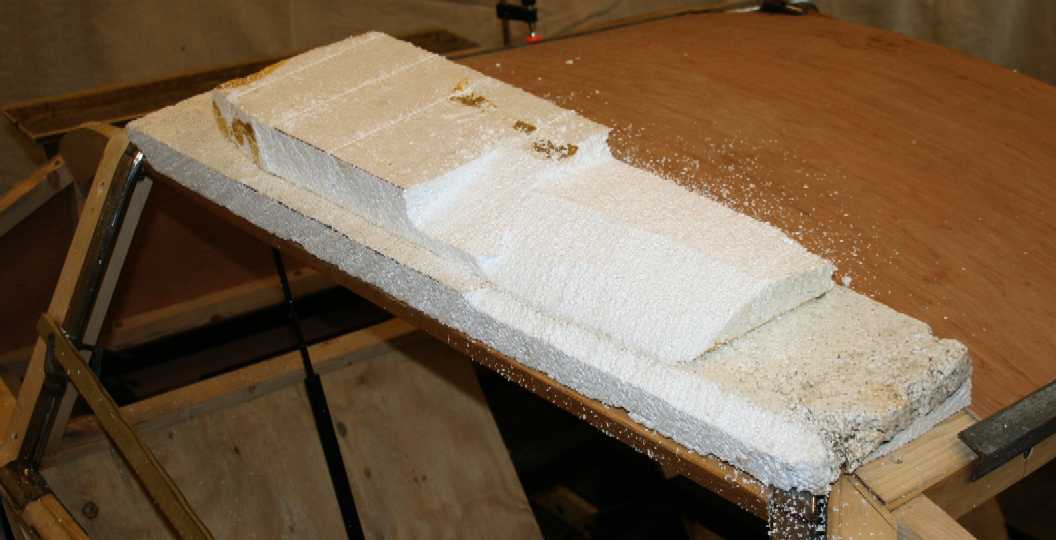
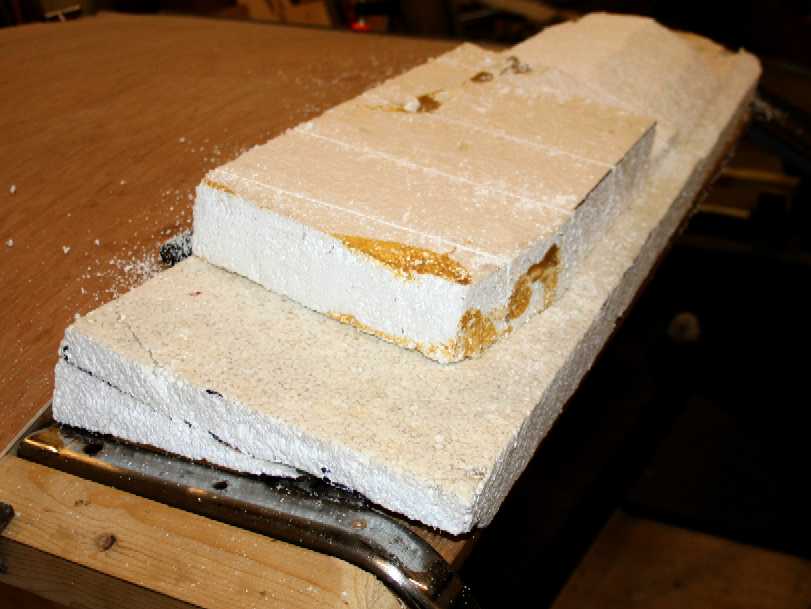
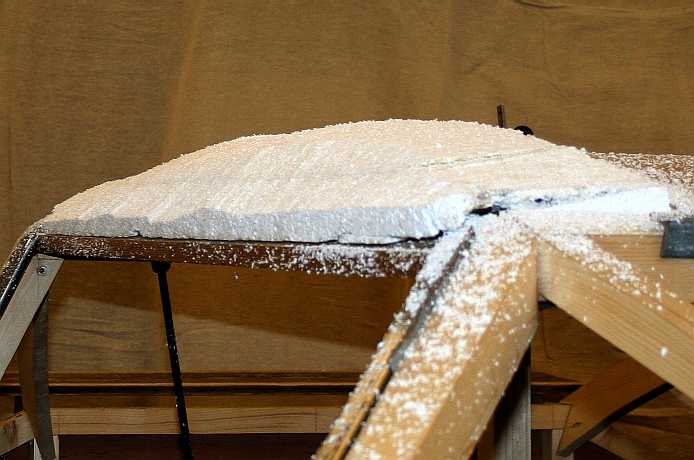
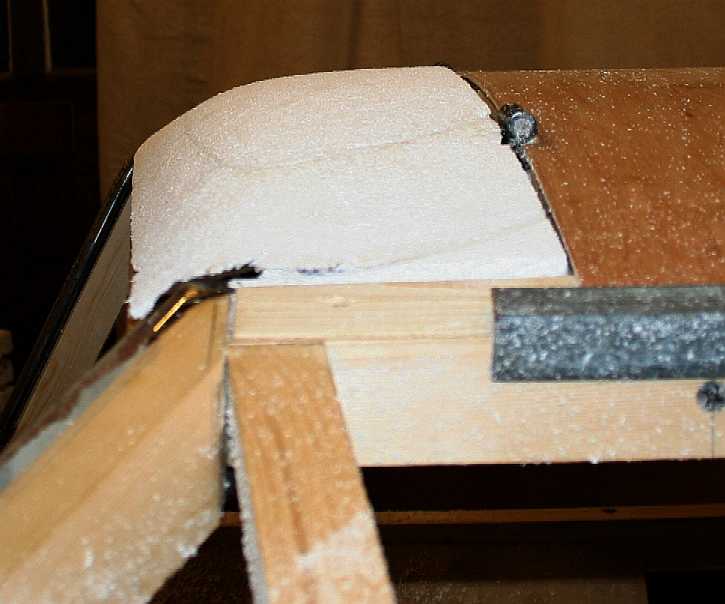
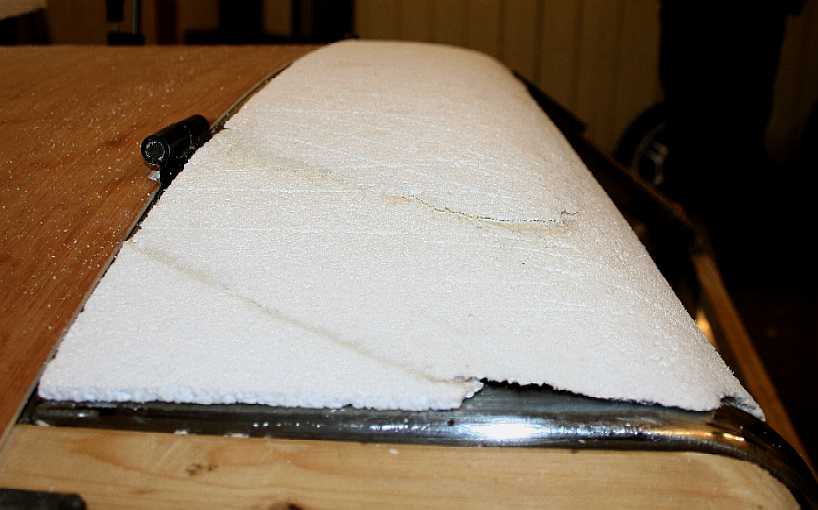
The door roof void is filled with foam blocks. 50mm sheets are bonded together to give a block to carve. November 16 2014. It looks pretty awful at this stage - and it is going to get messy. You can use polyurethane foam (which is really expensive) or polystyrene foam, that is a lot cheaper, but melts at the slightest whiff of any spirit - let alone polyester resin. Hence, if using polystyrene foam, be sure that any adhesives used are not spirit based. Gripfill is spirit based and will melt polystyrene foam. So, will not work. By the way, we recycled some foam from an older project to make these panels. Not only is it good for the planet, but it's also good for your pocket. Recycling seriously reduces project costs. Be sure to dispose of plastic waste responsibly.
Here the foam block is rough hewn to get us within an inch or so of the final shape. An ordinary wood saw (or garden bow saw) is good for this part. Let the saw do the cutting, Do not push hard to force the blade. Foam is delicate and we cannot afford to tear it. This polystyrene foam was kindly provided to us by a merchants that is now Jewson. Today the product supplied would be Eurothane GP.
It is a very quick process. Moving from the saw stage (or hot wire if you have one, or prefer), use the body files to rasp down to within an eighth of an inch (3mm) then get out the 40 grit production paper. We used a longish piece of 2" x 1" x 24" timber with 40 grit from a long roll. Screwfix and Toolstation both sell sanding papers on rolls at sensible prices. In the past we've used 2" x 2" timbers more than 3' long to get flat sections right. You may think that you don't have the skill to shape body parts, but you will be pleasantly surprised, that if you follow our guide, and even only have moderate skill levels - you will produce a respectable end result.
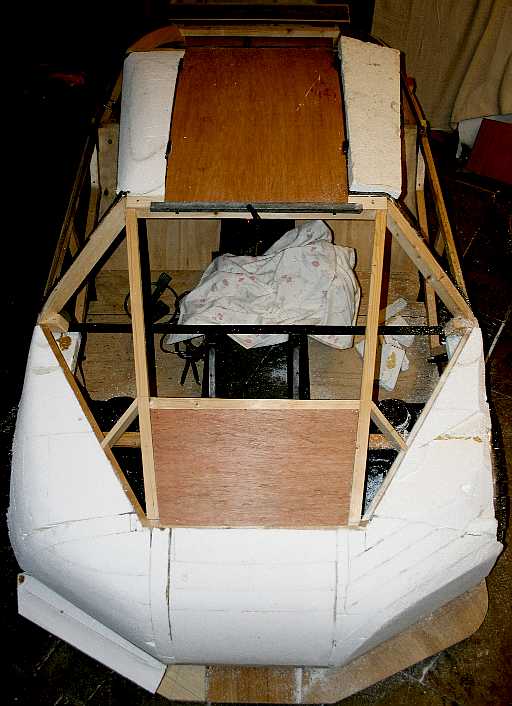
Of course we are dying to see what the nose looks like. It has the right kind of feel to it, but seeing is believing. If you are not happy with the shape of your car, you can always change it at this stage - before committing to carbon fibre. This is an interesting blending of the aluminium wheel arches, into the nose bulge. The ally arches are basically just the formers, although they will remain in part. If you are making the entire body in aluminium, you will need shaped rollers and considerable skill in welding and planishing, with hammers. Think of the body as a Knight's suit of Armour. November 20 2014. These photos are copyright ©, so you will need our permission to reproduce them, which we have no problem giving - all you have to do is ask. Not asking, and not giving a link back to the appropriate pages, may be considered copyright theft. In not giving due recognition to the origination of the artworks, you are in effect harming our project, where, we hope to recover the cost of the project from advertising, etc. Please therefore accept our thanks in advance for doing the right thing.
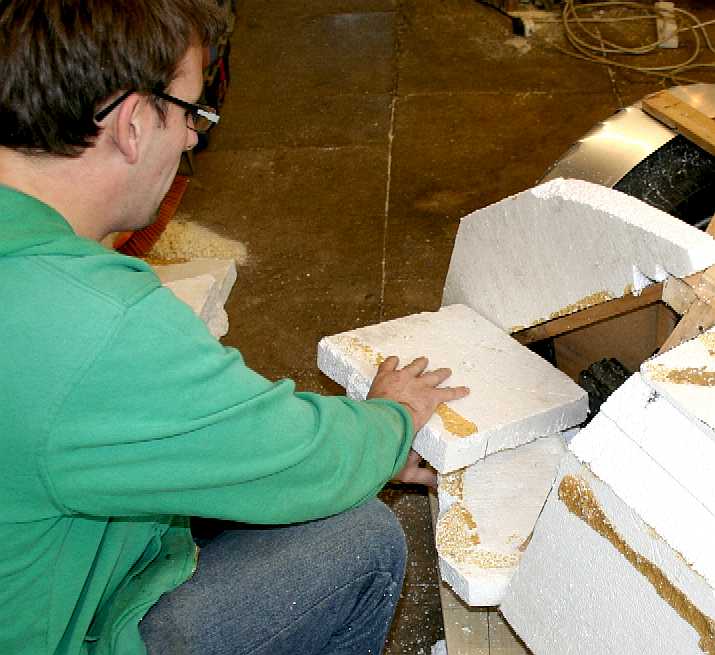
Filling some of the areas for carving is trickier than others. Chris is seen here cutting foam to fill the offside front wing. Cutting accurately is important so that the gaps are small enough that the adhesive will bite over a large area.
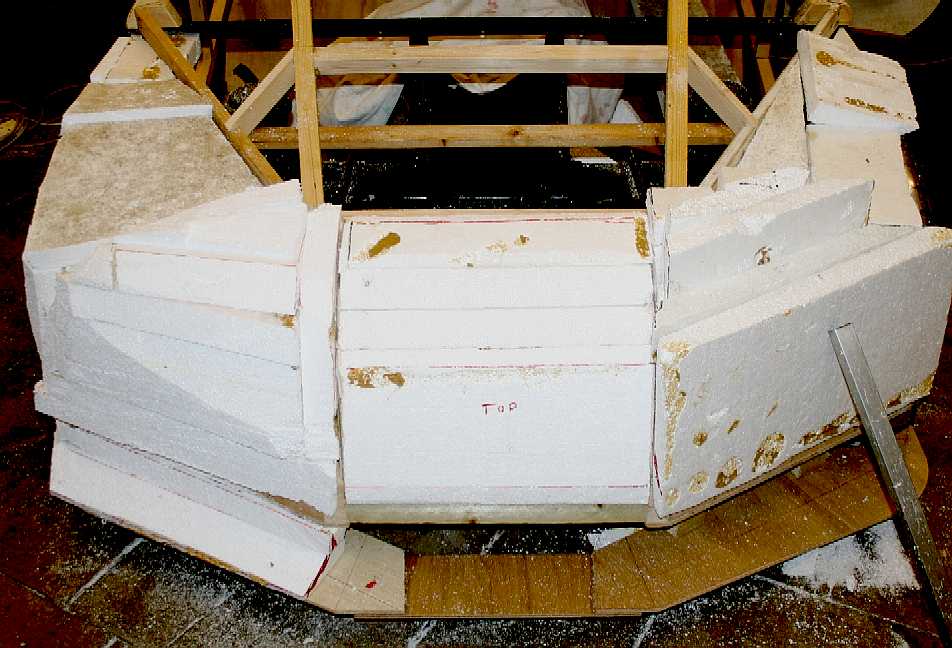
It took an afternoon to fit all the pieces to get anywhere near shaping the offside wing, shown here very roughly cut. The nearside jigsaw puzzle is also taking shape. The offside spoiler has some foam fitted. This picture was taken on the 14th of December 2014.
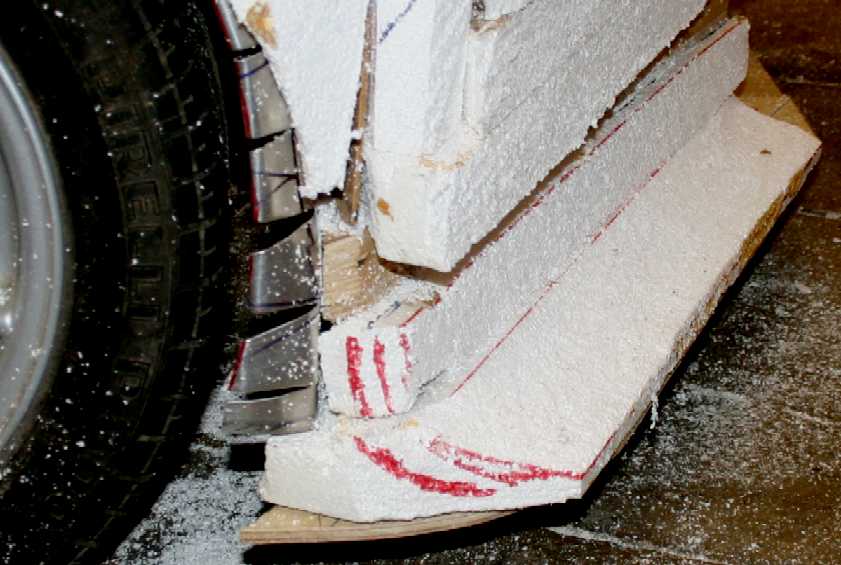
Side view of the front offside spoiler. As you can see it's got some ways to go before the shape is right. We leave a good 20-40mm before using one of the body-files at the head of this page to carve the curves. Not shown on this page are the round wooden shapes we use with 40 and 80 grit production paper for the final finish.
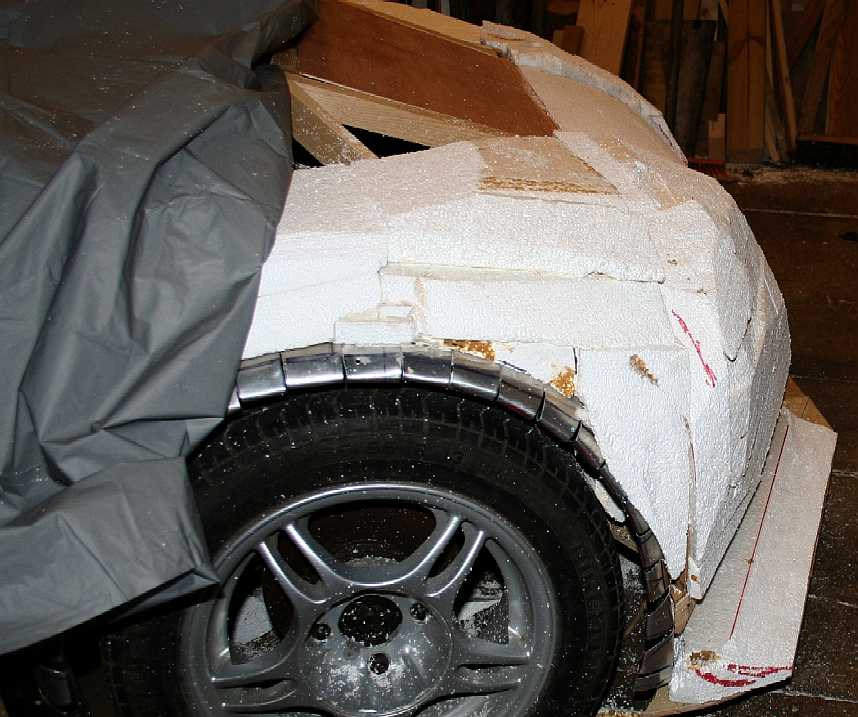
Side view of the nose/wings foam packing. When using plastics for your prototyping, be sure to recycle where possible. Once again, note how off-putting the rough foam assembly looks with bits everywhere. Do not though falter. Work methodically and slowly, slowly a shape will emerge to make you smile.
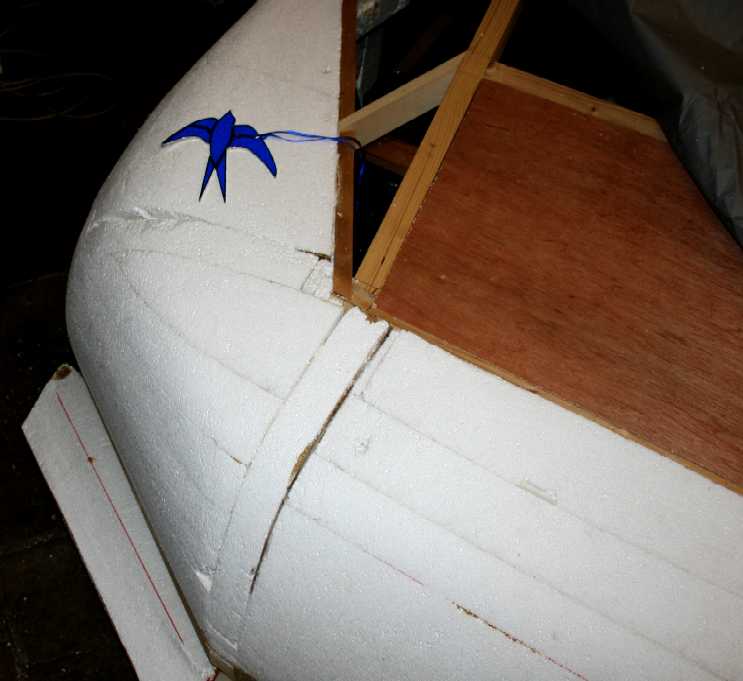
The reward for all of your patience, is watching the shape of your car emerge from the rough. In these two pictures the offside wing is taking shape. Detail shaping will be the wheel arch, spoiler and flare to side body. It's worth taking your time on the details. Note the bluebird mascot. A glass ornament and much appreciated present to the project from a team member.
When the foam blocks are carved by an experienced craftsman, a near perfect shape is possible using only hand tools. This technique is fine for one off prototypes. If we were going into production, we'd laser scan one side, and mirror it for 100% balance - but where's the fun in that. The wing on the left of this picture (offside in the UK) is nearing final shape. The right wing (nearside in the UK) is still quite boxy. Same with the roof panels of the gullwing doors. The offside is shaped, the nearside has yet to be carved. Please note that these pictures are copyright © BMS 2015 and you will need our permission to reproduce them. We can supply higher quality for magazines, etc.
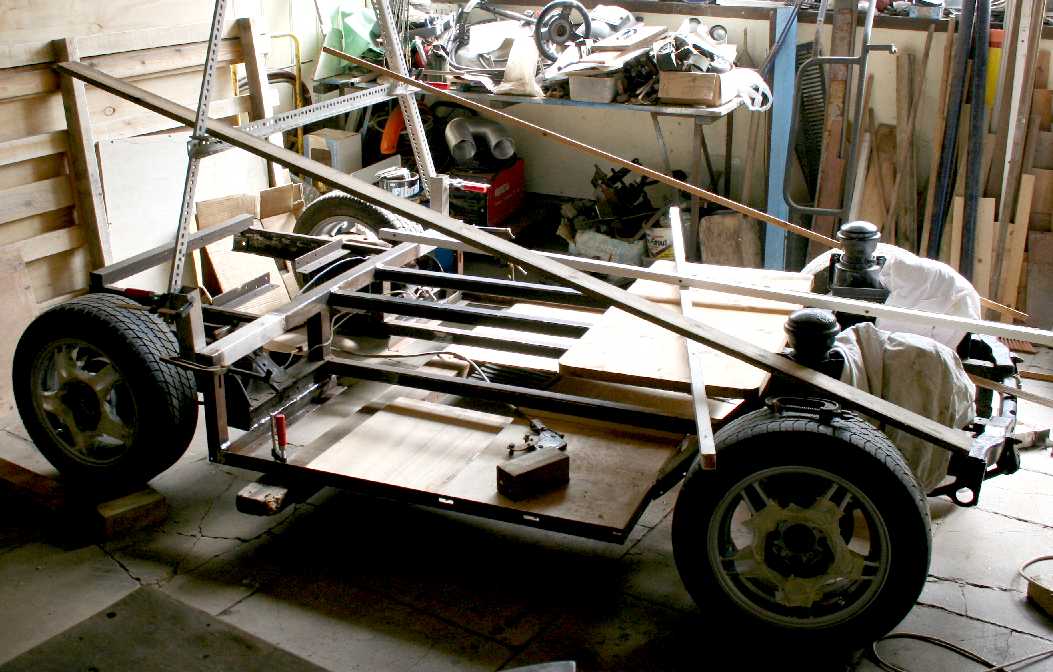
Remember this. Yup, this is how the car started out in March 2014. It was not a pretty sight. But, it is good to reflect on progress now and again, to remind us that if it were not for us taking the time to think on and then act on our impulses, we'd never achieve anything. The Phoenix is rising!
PRE LAMINATING PREPARATIONS
Having gotten the foam shaped and fine sanded, it then needs to be sealed and painted ............
Car restorers, designers and enthusiasts will appreciate what comes next as the story continues ..........
ECOSTAR DC50 LINKS A-Z INDEX
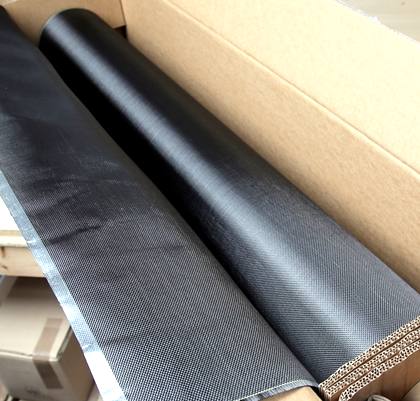
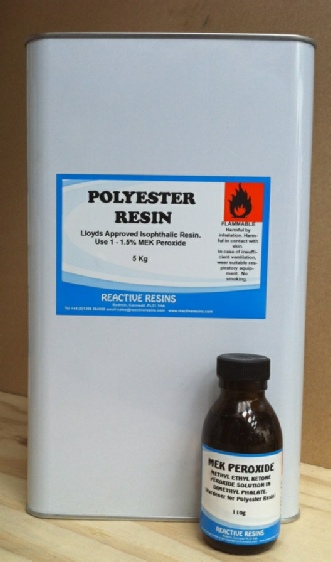
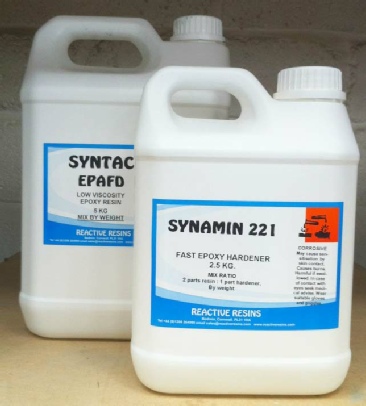
Carbon fibre cloth 225g plain weave. Ideal for bodywork layup on the Ecostar, with reinforcing tape on the window and roll over bar frames (A and B pillars). Carbon fibre is used with epoxy resin, while the polyester resin is typically used with woven and chopped glass matt.
EXTERNAL LINKS & REFERENCE
http://www.resinstore.com/Polyester-resin.html http://www.epoxy-resins.co.uk/Shop/resin.html http://www.ecfibreglasssupplies.co.uk/ http://www.pecepoxy.co.uk/shop/epoxy/ http://cars.uk.msn.com/features/the-10-greatest-ever-kit-cars?page=7 http://www.screwfix.com/ http://www.toolstation.com/ http://en.wikipedia.org/wiki/Phoenix_(mythology)
WE ARE LOOKING FOR POTENTIAL SUPPLIERS IN RETURN FOR ADVERTISING ON THE CAR - IF YOU CAN HELP US, PLEASE CONTACT CHRIS OR TERRY. IT WON'T COST YOUR COMPANY THE EARTH TO GET A LOT OF PR RETURN - BUT YOU COULD HELP US TO SHOW OTHERS HOW TO BE KINDER TO THE PLANET.
www.fibertech.kr
SANOWART GROUP CO.,LTD.
Changshu Dongyu Insulated Compound Materials Co.,Ltd.
+44 (0) 1323 831727 +44 (0) 7842 607865
Ask for Terry Intelligent Battery Support System THE BLUE BIRDS OF HAPPINESS
|
|||
|
This
website is Copyright © 2015 Bluebird Marine Systems
Limited.
The names Bluebird,
Ecostar DC50™,
Eurostation™
and the blue bird in flight
|
